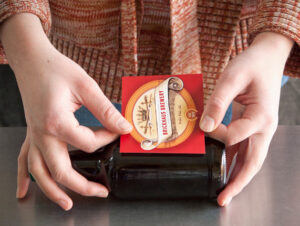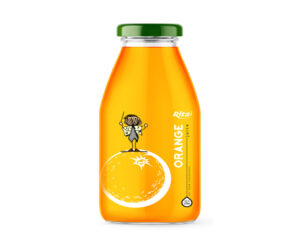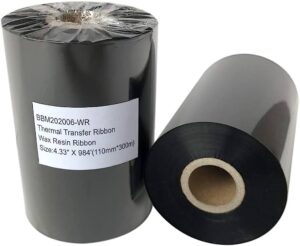


Waterproof labels are a practical solution for situations where exposure to moisture, water, and challenging conditions is inevitable. Whether you’re labeling outdoor equipment, products, or items in a wet environment, using waterproof labels correctly is essential for maintaining the integrity and readability of your labels. In this blog post, we’ll guide you through the steps to effectively use waterproof labels for various applications.
Step 1: Choose the Right Labels
Start by selecting waterproof materials that are specifically designed for the surface and conditions you’ll be using them in. Not all labels are created equal, and choosing the right type ensures optimal performance. Discuss with us regarding your application surface and temperatures, our friendly label expert would be glad to recommend the suitable material for you.
selecting waterproof labels that are specifically designed for the surface
Step 2: Prepare the Surface
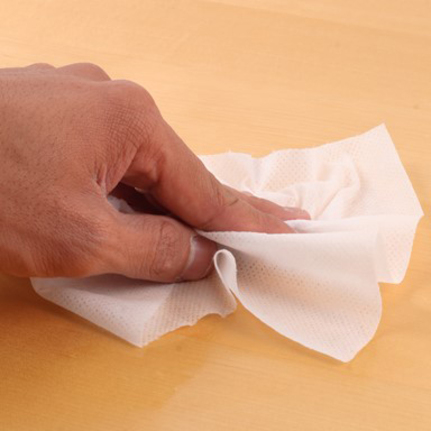
Before applying the label, ensure that the surface is clean, dry, and free from dust, oil, and debris. Properly preparing the surface ensures that the label adheres securely. Dust or other contaminants on the surface can cause uneven bumps on the label, especially on transparent materials.
ensure that the surface is clean, dry
Step 3: Applying the Label

Gently peel the waterproof label from its backing, avoiding touching the adhesive side with your fingers. This prevents oils from your skin affecting adhesion. Position the label on the surface and gently press down, starting from the center and working outward. Do not attempt to use a glove to peel the label as the label may stick onto the glove and cannot be removed.
avoid touching the adhesive side
Step 4: Allow for Set Time
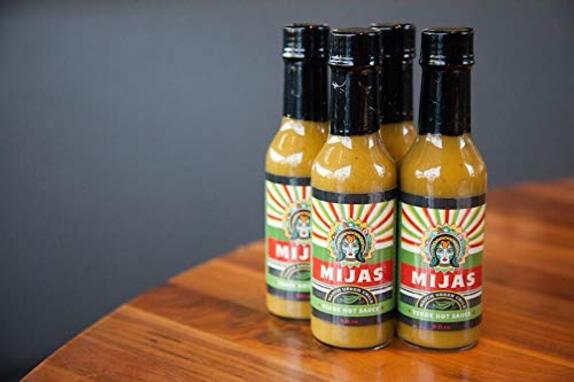
Depending on the adhesive used, allow the label to set for the some time before exposing it to water. This step is crucial for ensuring the label’s long-term adhesion.Try not to hot-fill the labelled containers as heat may dry up the adhesives. Most waterproof material has adhesives that withstand temperatures up to 80 degrees celsius depending on the material.
allow the label to set for some time
Step 5: Avoid Bending and Stretching

While applying the label, be careful not to stretch or bend it, as this can affect both its appearance and adhesion. Apply even pressure for a smooth finish. Stretching can cause creases and wrinkles on the label surface and affect its look. If you are applying large amount of labels, consider using roll form labels and an automatic label applicator.
not to stretch or bend it, use roll form for larger quantities
Step 6: Care and Maintenance
After the label is applied, handle it gently. Avoid aggressive rubbing or scrubbing that could compromise its longevity. If the label gets wet, gently pat it dry with a clean cloth instead of rubbing.
avoid aggressive rubbing or scrubbing
Step 7: Test Before Use
Before applying waterproof labels to a large number of items, conduct a small-scale test to ensure they adhere properly and withstand your specific conditions.
conduct a small-scale test
Waterproof labels provide a durable and reliable solution for labeling items that face exposure to water and moisture. By following these steps and taking the time to properly apply and maintain your waterproof labels, you can ensure that your labels remain effective even in challenging conditions.
Have questions regarding waterproof labels? Click the button below and one of our friendly label expert would love to help!